在制作网页的过程中,有时我们可能需要实现圆角的效果,以前的做法是通过切图(将设计稿切成便于制作成页面的图片),使用多个背景图像来实现圆角。在 CSS3 出现之后就不需要这么麻烦了,CSS3 中提供了一系列属性来设置元素的圆角效果,如下所示:
| border-top-left-radius | 为元素左上角设置圆角效果 |
| border-top-right-radius | 为元素右上角设置圆角效果 |
| border-bottom-right-radius | 为元素右下角设置圆角效果 |
| border-bottom-left-radius | 为元素左下角设置圆角效果 |
| border-radius | 上面四个属性的简写形式,可以同时为元素的四个角设置圆角效果 |
上述函数的可选值如下表所示:
| 值 | 描述 |
| length | 通过数值加单位的形式定义圆角的形状 |
| percentage | 以百分比的形式定义圆角的形状 |
border-radius用来实现圆角边框。
举例:
<html>
<head>
    <style>
        div {
            width: 300px;
            height: 300px;
            border: 1px solid red;
            border-radius: 20px;
        }
    </style>
</head>
<body>
    <div></div>
</body>
</html>
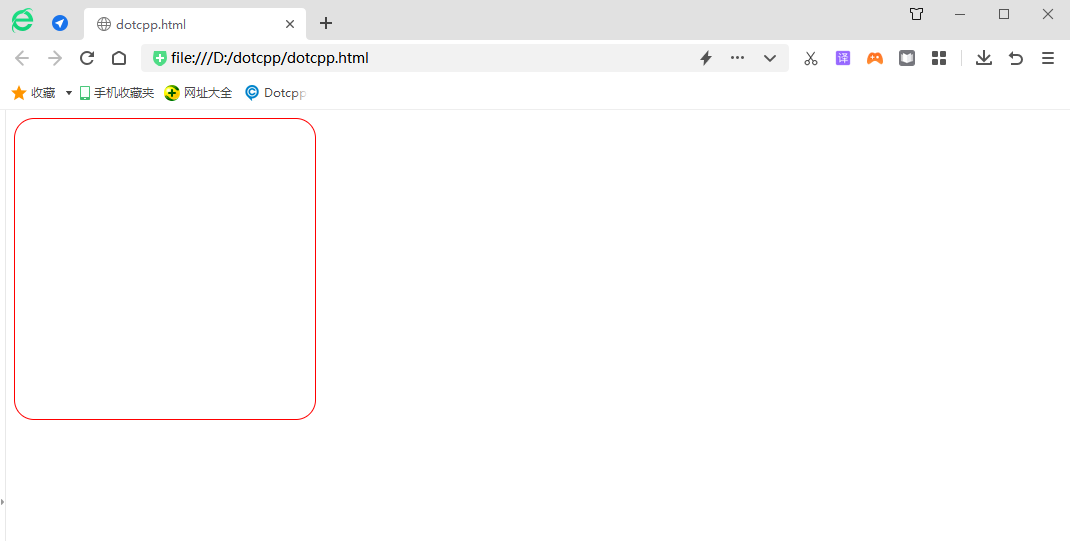
运行结果:

但是如果我把border-radius设为150px,就会变成圆形边框
<html>
<head>
    <style>
        div {
            width: 300px;
            height: 300px;
            border: 1px solid red;
            border-radius: 150px;
        }
    </style>
</head>
<body>
    <div></div>
</body>
</html>
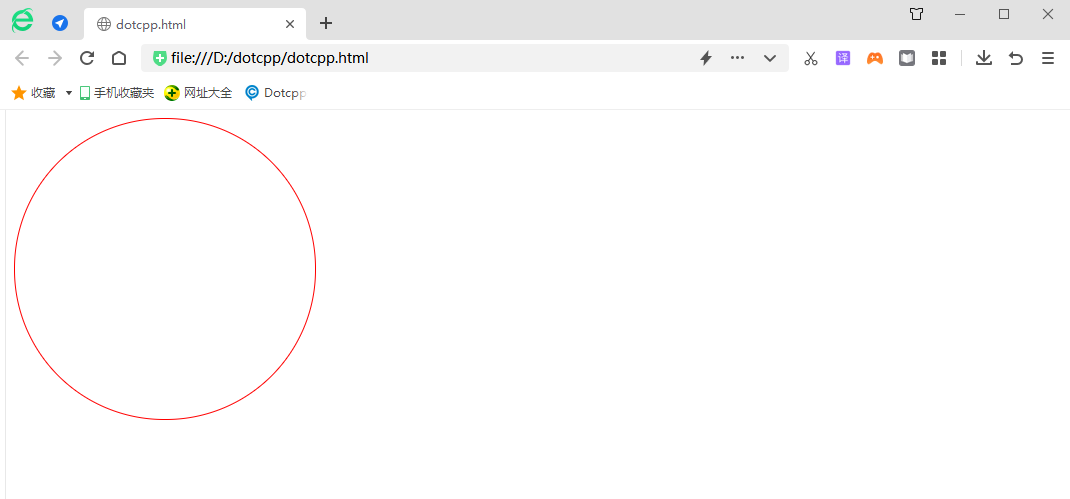
运行结果:

为了方便,直接把border-radius设为50%也行。效果是一样的。
但是如果想画圆,则width和height必须要相等。
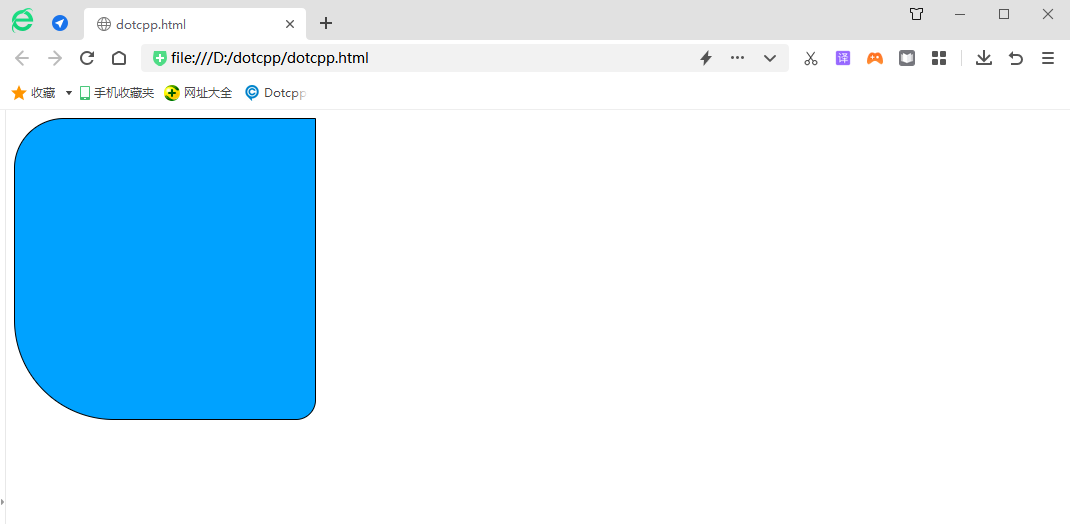
事实上,border-radius后可以接多个属性值,像上面的一个属性值则默认四角都为该属性值,若是四个属性值显然是与四角相对,这么个相对法呢?从左上角开始,顺时针一一对应。
举例说明:
<html>
<head>
    <style>
        div {
            width: 300px;
            height: 300px;
            border: 1px solid black;
            background: rgb(0, 162, 255);
            border-radius: 50px 0px 20px 100px;
        }
    </style>
</head>
<body>
    <div></div>
</body>
</html>
运行结果:

举例画个鸡蛋吧:
<html>
<head>
    <style>
        div {
            width: 80px;
            height: 100px;
            border: 1px solid black;
            background: rgb(0, 162, 255);
            border-radius: 40px 40px 40px 40px/60px 60px 40px 40px;
        }
    </style>
</head>
<body>
    <div></div>
</body>
</html>
运行结果:

C语言网提供由在职研发工程师或ACM蓝桥杯竞赛优秀选手录制的视频教程,并配有习题和答疑,点击了解:
一点编程也不会写的:零基础C语言学练课程
解决困扰你多年的C语言疑难杂症特性的C语言进阶课程
从零到写出一个爬虫的Python编程课程
只会语法写不出代码?手把手带你写100个编程真题的编程百练课程
信息学奥赛或C++选手的 必学C++课程
蓝桥杯ACM、信息学奥赛的必学课程:算法竞赛课入门课程
手把手讲解近五年真题的蓝桥杯辅导课程